Using Virtualmin’s automated installation script has installed the LAMP version on my server. Although I knew about LAMP and LEMP options, it had been a while since I last installed Vitualmin, so on this occasion I took the quickest way to set it up and went for the auto-install Script.
Once up and running, it all seemed good and wondering which web-services I wanted to install on this, what is essentially a Shared Hosting solution and that means I do not have to use-up a unique IP adress from my small pool of Static IP address for each web server.
When I tried installing Self Hosted n8n, it became clear that I needed Nginx web server.. Drat!! I should have chosen the LEMP option when installing Virtualmin. I probably didn’t pay attention to or inspect the Script before installing it.. Or checked to see if there was an alternative with LEMP option.
Luckily I came across the following ‘Manual Webserser Switch’ official Virtualmin document, which explains how LAMP could be SWAPPED for LEMP… This server is running Ubuntu 24.04 so we’re on the Debian kind and executed CLI commands suggested accoringly.
Manual Webserver switch
Manual webserver switch
Warning!
Manual switching involves advanced configuration and is generally not advisable for average users due to its technical nature.
Manual switch from Apache to Nginx
- Disable Apache: Disable Apache.
- Debian and derivatives
systemctl disable --now apache2 - EL systems
systemctl disable --now httpd
- Debian and derivatives
- Disable Apache as Virtualmin feature
virtualmin set-global-feature --disable-feature web --disable-feature ssl - Install Nginx and dependencies: Install Nginx and Nginx Virtualmin modules from your repository.
- Debian and derivatives
apt-get install nginx-full webmin-virtualmin-nginx webmin-virtualmin-nginx-ssl - EL systems
dnf install nginx wbm-virtualmin-nginx wbm-virtualmin-nginx-ssl
- Debian and derivatives
- Configure Virtualmin for Nginx
virtualmin-config-system -i Nginx
Switching from Nginx to Apache
- Disable Nginx: Disable Nginx.
- EL systems and Debian derivatives
systemctl disable --now nginx
- EL systems and Debian derivatives
- Disable Nginx as Virtualmin feature
virtualmin set-global-feature --disable-feature virtualmin-nginx --disable-feature virtualmin-nginx-ssl - Install Apache: Install the Apache package along with necessary modules.
- Debian and derivatives
apt-get install apache2 libapache2-mod-fcgid apache2-suexec-custom - EL systems
dnf install httpd mod_fcgid mod_ssl mod_http2
- Debian and derivatives
- Configure Virtualmin for Apache
virtualmin-config-system -i Apache - Enable Apache as Virtualmin feature
virtualmin set-global-feature --enable-feature web --enable-feature ssl
I didn’t actually uninstall or disable Apache2, isntead I Stopped the servicec and installed Nginx in its’ place because future other applications may actually need Apache – I am not the expert I would like to be (yet) and do not know how to port one type over ot the other, although I believe I am somewhat better with Apache2 than Nginx… (ToDo. Learn the internals of Nginx!)
I should also make it clear that I needed to install Docker Composer on this server because the instructions to install (self managed) n8n from this Digital Ocean link refers to a virtual machine and not the traditional download and setup kind.
Here’s the Yaml Docker file…
version: '3.7'
services:
  db:
    image: postgres:14
    environment:
      - POSTGRES_USER=n8n
      - POSTGRES_PASSWORD=n8npass
      - POSTGRES_DB=n8n
    volumes:
      - postgres_data:/var/lib/postgresql/data

  n8n:
    image: n8nio/n8n
    ports:
      - "5678:5678"
    environment:
      - DB_TYPE=postgresdb
      - DB_POSTGRESDB_HOST=db
      - DB_POSTGRESDB_DATABASE=n8n
      - DB_POSTGRESDB_USER=n8n
      - DB_POSTGRESDB_PASSWORD=n8npass
      - N8N_BASIC_AUTH_ACTIVE=true
      - N8N_BASIC_AUTH_USER=admin
      - N8N_BASIC_AUTH_PASSWORD=strongpass
      - N8N_HOST=n8n.yourdomain.com
      - WEBHOOK_TUNNEL_URL=https://n8n.yourdomain.com
    depends_on:
      - db
    volumes:
      - n8n_data:/home/node/.n8n

volumes:
  postgres_data:
  n8n_data:
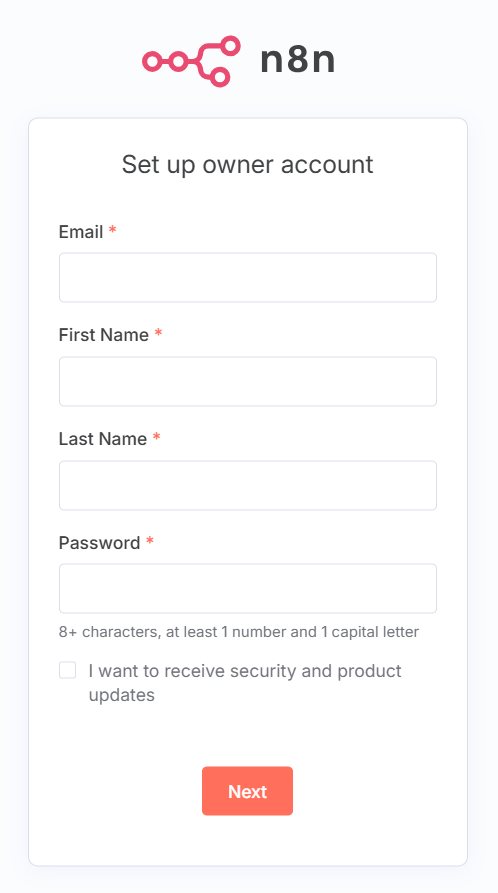
As soon as I installed Nginx, I opened up my browser and headed over to n8n.tamertemel.net and voila! it was there. I didn;t even need to type the port:5678
So here we are: setting up our ‘new’ acccount on the Self Hosted n8n. Although, I want to regenrate the n8n installation and re-use my Free-for-life n8n support as I still have the key for this from the installation I lost as a result of Proxmox meltdown last week.